Wednesday 29 May 2013

Cheer leading top

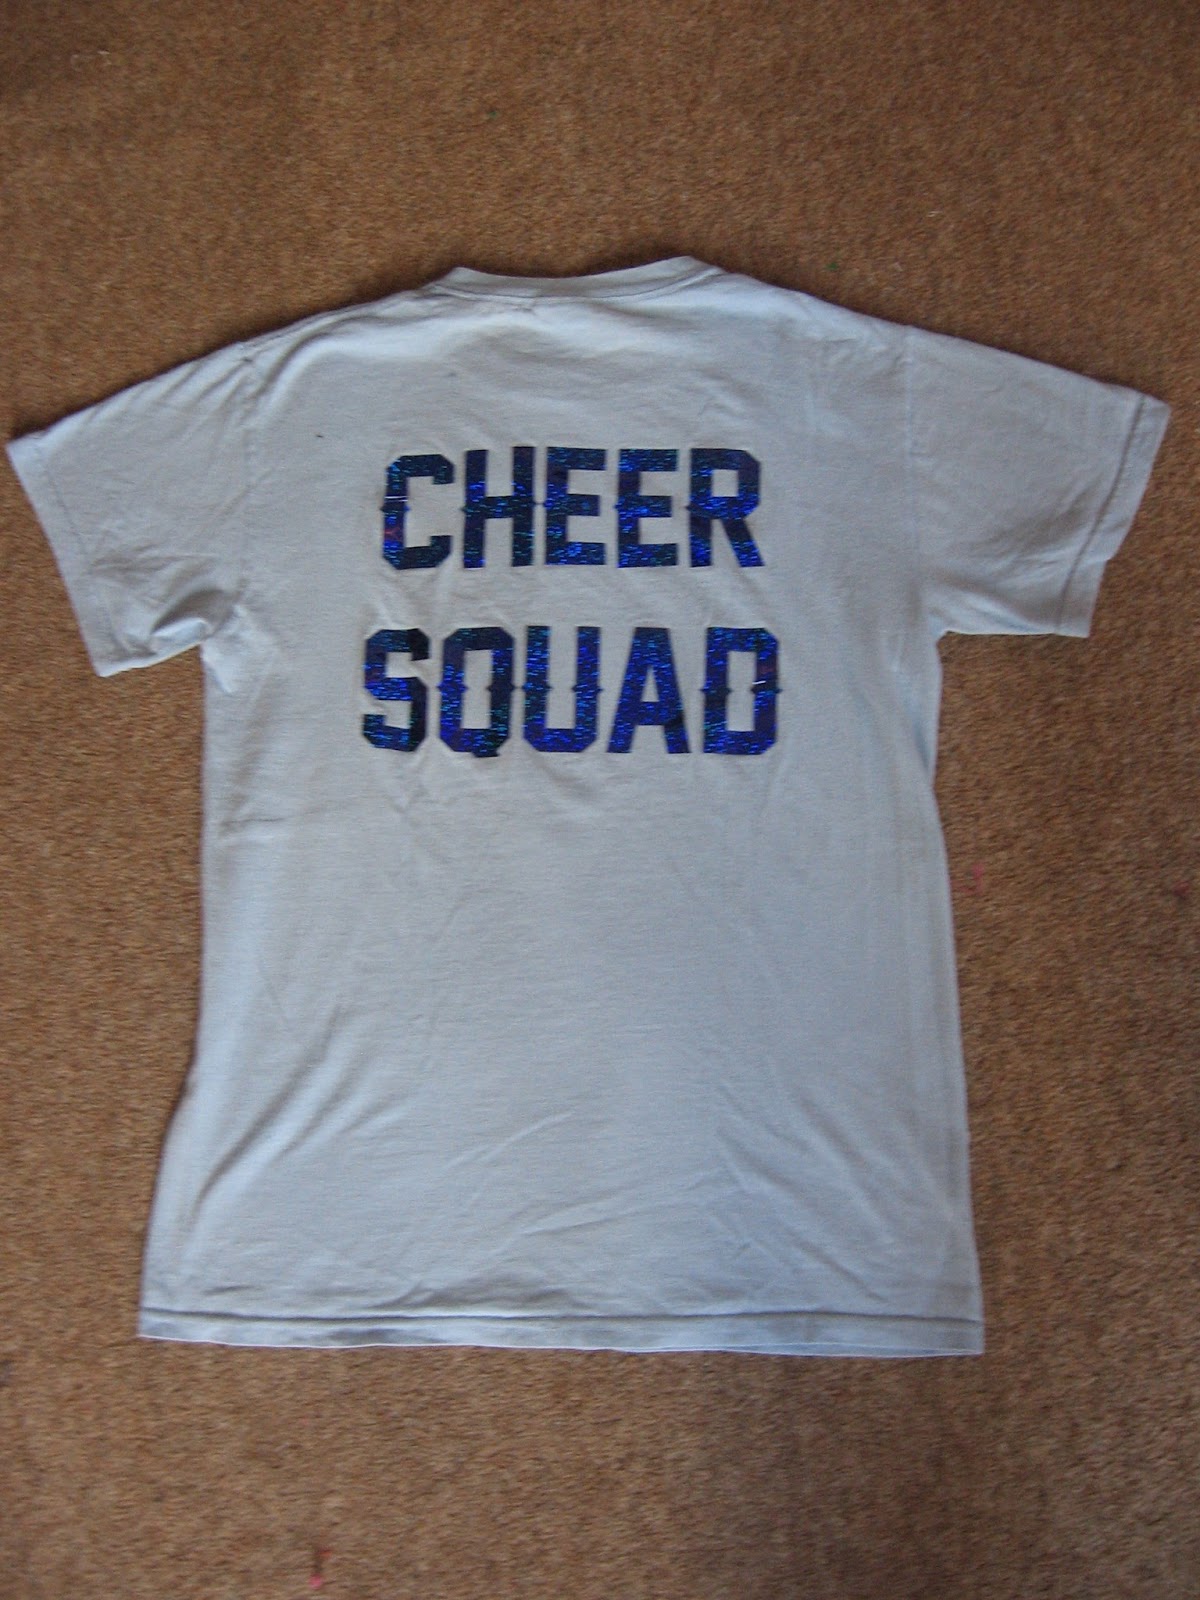
A couple of years ago my school tried to set up a cheer squad for an up coming competition. I signed up, even through I'm rubbish at gymnastics or anything remotely sporty. For the competition the team where all given lose fitting tops. As a team we never really went anywhere after the competition (probably because we lost) but we where allowed to keep the tops.
A couple of weeks ago I found my cheer leading top again at the back of my wardrobe and decided to modify it so it fit better. I got the idea from this blog post. I also took some pictures of the process for you.
 Firstly I removed the sleeves. I did this so that I was able to bring in the sides of the t-shirt. and then I cut down either side of the top (but I left the shoulders still intact).

Then I pinned down a line from top to bottom of the top and took of about 1/2 a cm on both sides of the top.
After sewing the two sides back together I brought in the arm holes and simply reattach the sleeves. I then shortened the sleeves, re-hemmed them and inserted elastic into the hem.
Sorry for the indoor bathroom shots; it was raining really heavily outside.


I hope this has inspired you!

Friday 24 May 2013

Low cut top modification

A while ago during the sales I found this really nice blue and grey tank top. When I tried it on in the changing rooms I was wearing another top beneth it (as I was trying to be quick, due to the que for the changing rooms) and didn't see just how low cut it was on me.
I loved the colour of the top but found that when wearing it I had to be so careful not to bend over for obverous reasons. So one evening I finally decided that I was going to modify this top. Out came my sewing machine and within 20 minutes I had a very wearable new top.


I didn't want to change the length of the top so I only shortend the straps of the grey tank top, which had to be seprated from the blue one first.
This produced a nice heightened grey top whilst the blue top stayed the same length.

 Luckily for me both the grey top and the blue top where full tank tops (unlike some tops you find) and so shortening was very simple.

I hope this has inspired you!

Wednesday 22 May 2013

Applique tea towel

I started this piece last night as more of an expermental piece to practise my applique skills but I got abit carried away and created a full tea towel design.
The origina tea towel was from Ikea. It was just a plain blue/ purple gingham rectangle. My insperation for this design was from Cath Kidstons book "Sew", which is where I got the template for the hearts and birds from.


Although the hearts and birds aren't made from the same floral matteral they still link together with their use of pale pink. For the birds I found two small white buttons at the bottom of my sewing box, which matched perfectly!
It turned out so well that I'm thinking about giving it to my Mum as an extra birthday present.
I hope this has inspired you! 

Thursday 16 May 2013

Sew Ahoy!

On friday my mum told me my little sister was going to have a pirate day at school  but she was unsure what my little sister was going to wear; so with alittle persuasion my mum agreed to let me sew something. So Over the weekend I made a full pirates outfit!

Firstly I made a qiuck bandanna from some scrap jersey. This was very simple and actually didn't require any sewing. I simply cute out a triangle. No sewing needed as the matterial I used doesn't fray.
Next I made the shorts, this too was quick and simple. I used the same concept as I did for my denim shorts exept this time finished them with a zigzag stich and let them fray abit to give them more of a piratey feel. You can find a tutorial for this here.


Finally I made her the distinct pirate accessory- the eye patch! To make this I used the elastic from the shorts (because they now hold up with out it) and sewed two semi circles together, living a gap to insert the elastic. Once the elastic was inserted, I folded over the edges, so as to tidy it up, and the pirate outfit was complete.

I doubt I will ever make anything quite like it agian!
I hope this has inspired you!

Wednesday 15 May 2013

Denim Shorts Tutorial

Back in april I posted about my denim shorts.  And when I was making another pair for my sister, I thought I'd take some photo's as I made them.

As you can see they where far to short for her but we just hadn't got rid of them yet. So I set about making her a pair of summer shorts. Firstly while she was wearing them I made a litte make to indicate the length she wanted (it's best to do it while wearing them as you can never be quite sure if you've got the right length other wise). Then when she had taken them off with a ruler I marked on a cutting line.


Then I cut along the line. I must warn you though that the front of the trouser leg may be longer than the back because of the knee (but you won't have this problem if they a short shorts). After cutting one leg I folded it over onto the other leg (as shown bellow) to make sure it was at exactly the same length.


Then I simply zigzag stiched the bottom with some red thread I found at the bottom of my sewing box.
And voila! A pair of summer shorts.
I hope this has inspired you!

Saturday 11 May 2013

A Newlook 6816 Misses Top

I started this top awhile ago back in March but only got round to finishing it several days ago, as part of my drive to finish my works in progress. I'm easily distracted! 
I used a pattern from a simplictity magasine (1/2013). The pattern from the magazine that I used was this and the matterial I found at the bottom of my wardrob from a long time ago.

I hope this has inspired you!

Thursday 2 May 2013

Scrap curtain pieces top!

Free Pattern
Awhile ago my perants put up new curtians in their room, the only problem was that they where to long. So my Mum cut off the ends and gave the scraps to me. At first I wasn't to sure what to do with them but then I hit upon the idea of a layered top. Althougth I made mine from curtian scraps, this top can be made from any scraps (if you have enough; see below).


 You will need

  • long thin scraps of material (prefrable overlocked or instead pre-hemmed), these should be roughly 15cms long (width is less important as you will be threading elastic through; just make sure they are wide enough to fit the full length around the largest bit of your top). x8 or 6 if you are making a strapless top.
  • Thread
  • sewing machien (set to straight stich)
  • Elastic (measureing the length just underneath your armpit, about 4-5cms bellow)

Meathod

  1. Layer 5 of your pieces one over the other, so that one edge of the pieces is obscured by the piece above it.
  2. Sew them into place.
  3. Next get another one of your pieces of material and fold it in half.
  4. Secure it with pins onto the top of your layed piece with the rigth sides facing (i.e overlocked edges touching each other).
  5. Now sew the pieces together.
  6. Then thread the elastic, using a safety pin, though the folded over piece and secure it at the ends.
  7. Sew the two ends where the elastic comes out together, right sides facing. If you want to make a strapless top you are now done, if not keep reading!


Making the straps

  1. Fold the two remaining scrap pieces in half and then in half agian.
  2. Sew along both of the longer edges.
  3. Finally attach them in the correct possition for you, with one on either end of the tube.

I hope this has inspired you!