Thursday, 21 May 2015

Creative Revision Techniques: The post-it game

Well a couple of months ago I said I'd start a series about creative revision techniques. The first post went up no problem and then I got distracted with revision. This post was constantly pushed to the bottom of my to do list and I've only just gotten around to posting it. So I'm super sorry!
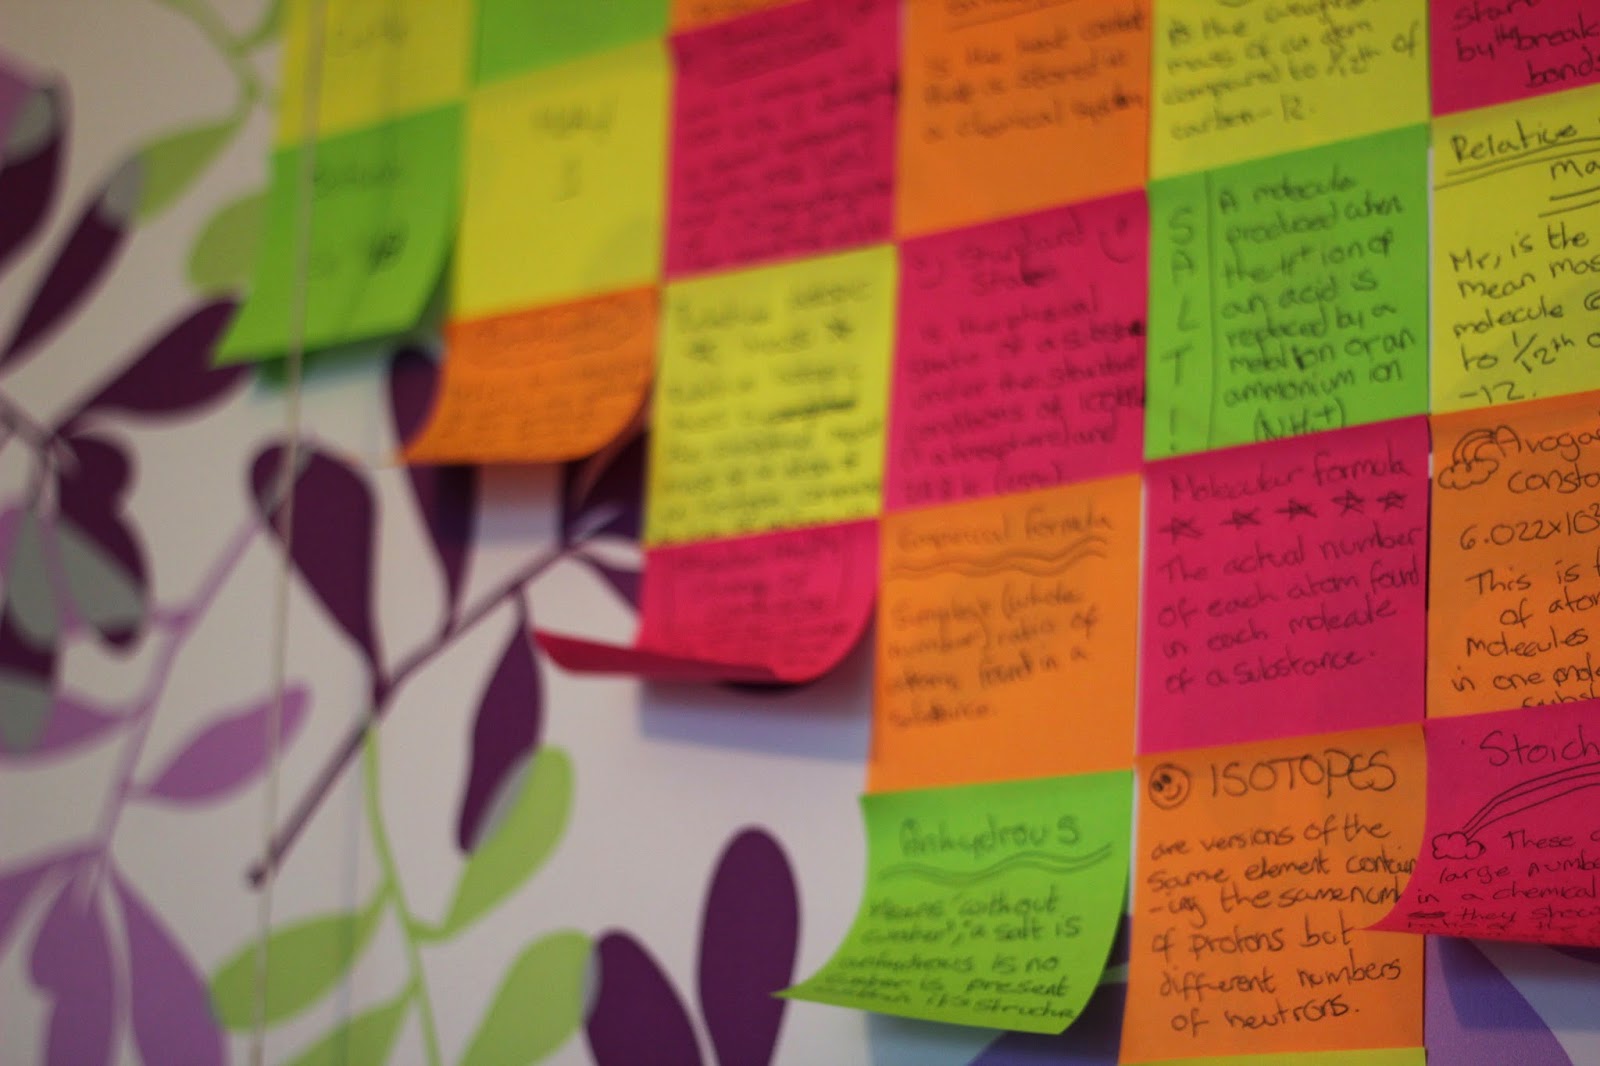
The post-it game is one of my favourite revision games to play as it gives my brain a rest from the obvious cue cards and past papers. The rules are quite simple:
  • Firstly you'll need to put together a mind map of what you want to revise, making sure you mark down all the possible links to each section of your topic.
  • Then you need to pick out key words and write each key word on it's own post-it note. 
  • Next find a spare wall or you can use a table and place the post-it notes randomly against the wall/table. 
  • Once you have placed all the post-it note on your wall/table, you can start to group them by placing key words that link topics next to each other. I find that it's also helpful to tell your self/ think of the reasons why you are placing post-it notes together. By giving justifications you will be reinforcing your knowledge. 
  • Finally compare your post-it note mind map against your original mind map and ask yourself if it matches or if you could move one of your key words.

This game has endless possibilities, you could time your self to see how quickly you can play or you could play against you're friends.
I hope this has been helpful and as always I hope this has inspired you!   

Wednesday, 8 April 2015

The owl dress

I always love Easter, it's a chance to celebrate new life. It's also a time of year that I can guarantee that my family will get together. This obviously gives me a chance to make something for one or more of them.

This year due to lots of course work deadlines and exam pressure I choose to only make something for my cousin. I had bought this owl fabric back in the summer and had started on a dress for my cousin back then but never got round to finishing it, therefore making this the perfect project for me when I had so little free time. 

In fact this dress took only one hour to finish. This was due to the simplicity of the design and the super easy to follow instruction. If you're interested in making a dress like this then here's the link.
I hope this has inspired you!

Saturday, 21 March 2015

Old t-shirt to new pyjama bottoms

Recently my sister's been growing super fast! She's loving the fact that she's almost as tall as me but isn't loving the fact that she has to say goodbye to all her old t-shirts. My sister is known for her funky t-shirts, so when the chance came for me to make her beloved out grown t-shirts into something new, I leaped at it.
Although there are lots of ideas out there, I couldn't find something that would allow me to use the amazing prints on the fronts of the t-shirts to their full advantage. After a while I realised that I had to approach these t-shirts as just being fabric. "If I saw this fabric in a shop, what would I do with it?" Well that's quite simple. I'd make them into a pair of pyjama bottoms. You can see the outcome in the photo below.
See what I mean about funky tops! If you're interested in making your own, then keep reading.

You will need:
  • Two t-shirts 
  • Sewing machine (or needle if you are hand sewing)
  • Thread
  • A pattern for a pair of shorts
Method:
  1. It's simple really, lay the pattern piece onto the t-shirt and cut it out. This will make one front piece and one back piece. Makes sure that you place the bottom of the shorts pattern at the very bottom of your t-shirt, so that you can re-use the hem. This is what makes the project super quick.
  2. Repeat the last step with the other t-shirt. 
  3. Then simply assemble the shorts as you would with any other trouser project. If you are unsure how to do this, then I have included a video for you below.

And that's all there is to it.
I hope this has inspired you!

Monday, 9 February 2015

Creative Revision Techniques: Post-it Love Heart

Around this time every year I seem to disappear off the blogging radar, this is because like many other people around the world I've started revising for the summer exams. But this year I plan to not disappear form the world of blogging and instead take you on my revision journey.

After many years of having to revise definitions for those 'easy marks', I've found that the best way for me to do this, is to write the definitions on post-its and stick them around my room.

I've also learnt that you soon become used to the post-its being there and stop noticing them, so I try to change where my post-its are every week. With this week being the run up to valentines day I thought that a heart shape would be a great way to place the post-its.

I got my original inspiration for this heart shape for the video bellow but head to down size it, as I don't have that many definitions to learn! Of course if you have more definitions than the original accommodates for, you could simply scale up the design.

I hope this has inspired you!  

Thursday, 5 February 2015

My Tartan Winter Skirt

You can't deny that the tartan skirt has been the surprise star of fashion this year and when I first saw this style I knew that I really wanted one too. So I was super excited when I found a navy blue, red and white jersey tartan fabric for just 20p at my local fabric shop (I say local- it's actually a 2 hour drive away!). I completed this skirt in November and I've worn it almost everyday, that's how much I love it.
  By using a jersey I was able to make a slightly tighter fit. I made this skirt using the same technique as in my Boden skirt. The only change I made was to make the skirt slightly longer, so as to give that more sophisticated look that I love so much about the tartan skirt.
The hardest part of this project was the pattern matching due to the large block lines that are so unforgiving. But that is easily overcome if you're super careful and tack every thing before sending it through the sewing machine.
This was such a lovely skirt to make and is an even nicer skirt to wear.
I hope this has inspired you!

Tuesday, 6 January 2015

Christmas present No.3

So this was the present that I couldn't share before Christmas, for fear of the recipient seeing it before they've had a chance to open it.
                                                   
This blue sparkly knit stood out to me and I knew straight away that this was going to become a cowl for my friend and how right I was. If you want to know how to make a scarf like this you can find a free tutorial here.
Happy new year and I hope this has inspired you!

Monday, 22 December 2014

Christmas Present No.2

I made this rug/ blanket form my close friend and it took about 1 week to complete. I would have like more time, so as to get it just right, but I was seeing my friend for the last time before Christmas yesterday, so it had to be completed by then.
All of the fabrics used where either scrap fabrics or came from an 80p pack, which might sound wrong if it's going to be a present but I wouldn't have made it if I didn't think it would turn out nicely.At the end of the day you just want to give something you know the other will like/ love. 

I also choose to add a quiltish border to this rug, so as to highlight how beautiful the owl fabric is. I'm not sure if this project counts as a quit (in fact it most likely doesn't) but whatever it is classed as I love it and would definitely make it again.


I hope this has inspired you!