It's been two years in the making! It's finally finished! I really can't contain my excitement.
Back in the summer of 2015 I really wanted to make a quilt. I think my words where "how hard can it be". Oh it was hard... Actually let me rephrase that. It wasn't hard, it just took a lot of time, patience and accuracy (not exactly traits I'm known for). As a result I returned to this project multiple times. In fact I mentioned this project in a post back in September 2015.
If I went back, would I start this project? No. But am I glad I made this quilt? Yes. The quilt feels like a personal achievement. It has proven to me that I can stick with and complete a project that lasts for more than a week. It is also another skill that I have tried, I wouldn't say I've mastered the art of quilt making but I have definitely tried new techniques. That being said, I don't think I'll be making another quilt in a hurry.
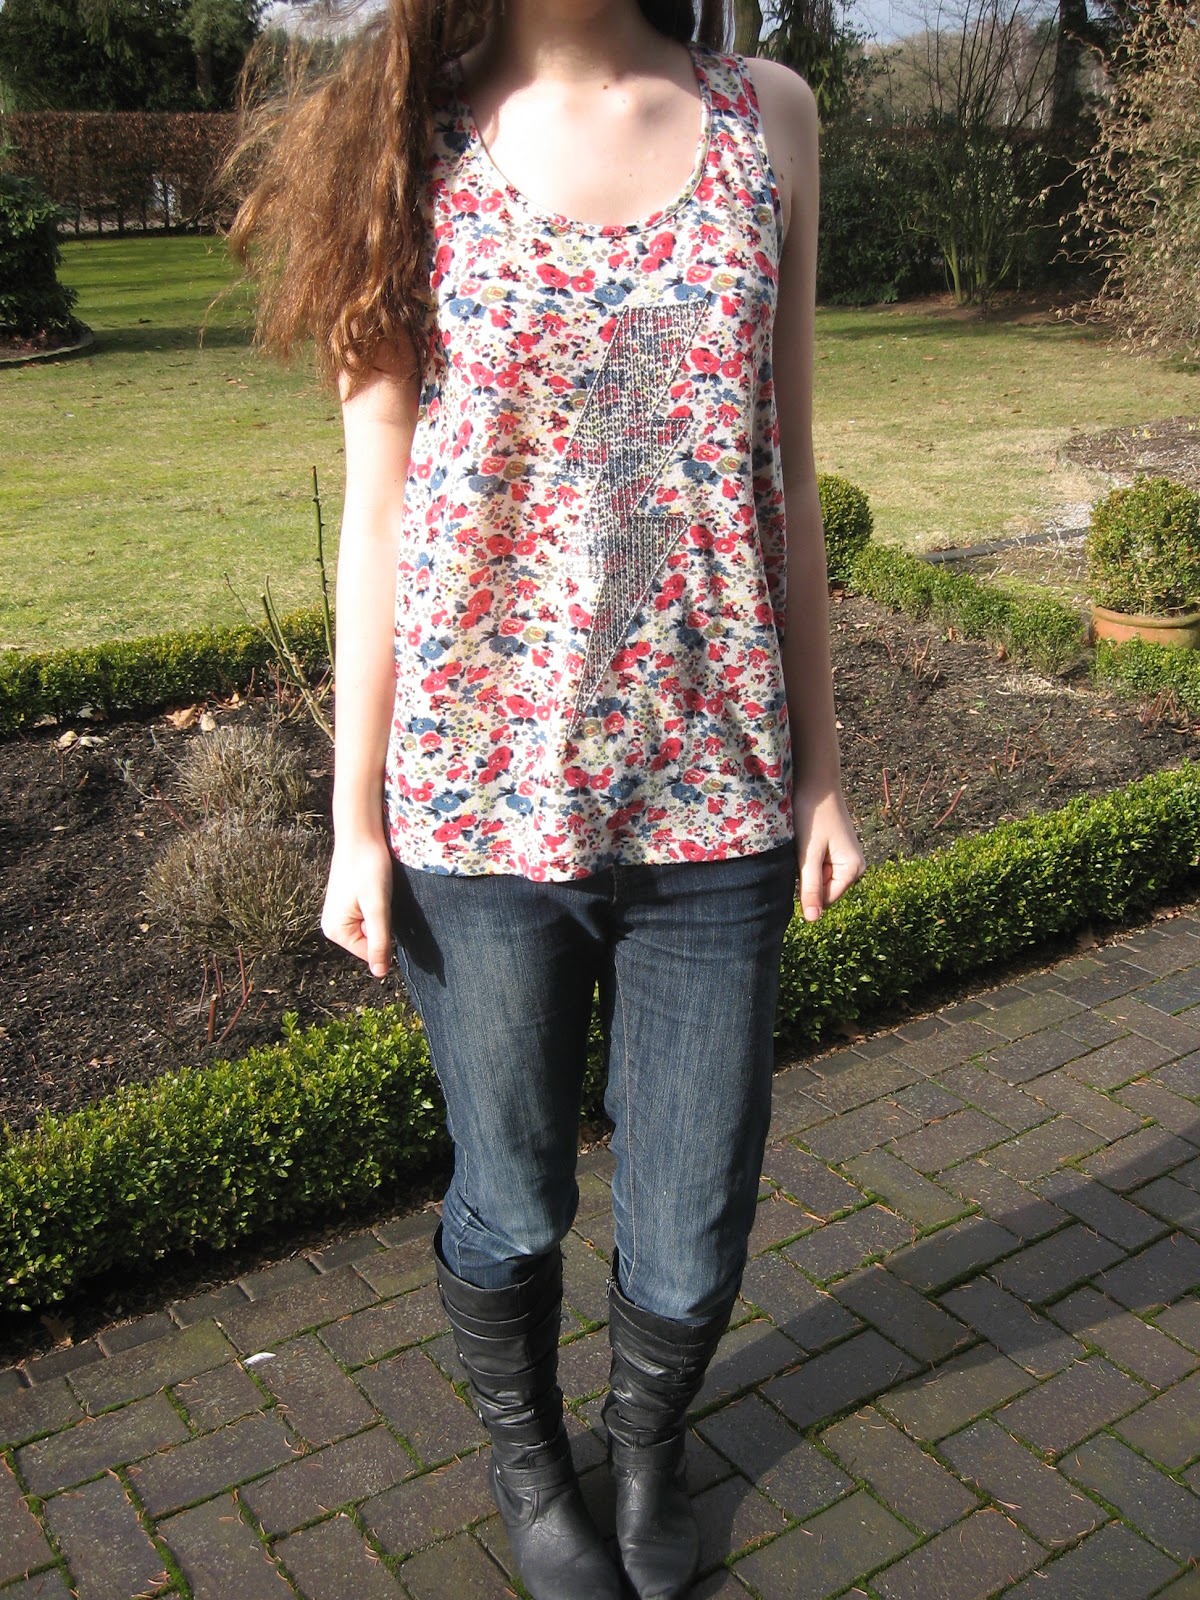
Recently I needed a pirate costume. Of course there was no way I was going to buy an expensive outfit when I could easily sew my self one.
All I did to create this outfit was to buy a second hand large mans shirt from my local charity shop. Then I cut off the top, created a casing and inserted elastic.
Then I simply paired it with my old ripped jeans, black boots, a red belt, an eye patch, a red bandanna and a puppet parrot. These where all things that I just had lying around the house.
Hey guys! So today, I want to share with you a dress that I made for a photo shoot last weekend. The dress was super easy to make. In fact I made the dress I'm about to show you in one afternoon.
I sourced the jumpers that I used from my local charity shop, so as to save money on the cost of the project and because it meant I would be using items that where already finished along the edges. This made the whole project a lot faster and made the final outcome look more professional.
If you'd like to make one for yourself, here's what you'l need:
A sewing machine
thread
2 jumpers
2 cardigans (or 1 if you skip the part where I replace the arms)
So with out further to do, let's get onto how I made the dress:
Firstly I took the first cardigan and carefully removed the sleeves at the shoulder seam.
I then removed the sleeves (at the shoulder seam) from the other cardigan.
I then placed the sleeves of one cardigan on the other by simply reattaching the arms at the shoulders.
Next I measured out the width of the cardigan (this includes both the front and back) and the divided the measurement by 4. This measurement will be the top width.
Using this measurement as the top, I created trapezium like shapes from the two jumpers, making sure that I used the full width of the jumper at the bottom of the pattern piece. At this point don't forget to add seam allowance.
Then I cut out these trapeziums, which left me with 4 pieces to make the skirt from.
I attached these pieces to each other, making a complete skirt.
Finally I attached the skirt to the cardigan (when doing this, it's important that you make sure that the cardigan is buttoned closed)
And there you have it, how to make a jumper dress. So as always,
I can't believe it! This is my 100th post and to celebrate I thought I would look back at some of my favourite posts.
I posted about this skirt back in February and since then it's become one of my all time favourite skirts. Its tartan pattern is similar to what's in trend at the moment but the fact that it's jersey makes it so comfortable. If you're interested in finding out more, take a look here.
These shorts are made from a pair of old t-shirts and I made them for my sister back in March. Since having posted about these I have also made a pair for myself and the shorts have been a real hit with my sister over the summer. To find out how you could make a pair for yourself simply take a look at my post.
Although the headbands above where my most recent project, I still had to share it as one of my favourites just due to the amount of fun I had making and designing them. If you'd like to find out how you too could make a headband like these, then take a look at this post to find out more.
I hope you've enjoyed looking back on these posts as much as I have and of course, I hope this has inspired you!
I had to share this pillow cover, that I made the other week, with you guys because it was soooooo easy!
To make this I measured the height and width of the pillow and cut out two rectangles from an old shirt (which I had buttoned up).
I then simply sewed the perimeters of these rectangles together (right sides facing). Remember to leave on button undone as it makes the next step easier.
Finally I unbuttoned the shirt from the outside and turned it so that the right sides where on the outside and places the pillow inside. The buttons act as a closure, which is what makes the pillow cover so nice and easy.
Also If your shirt had any added details on it, then you can make a feature of these on your pillow cover.
To make this cover, I used one of my sisters out grown shirts, but if you don't have a shirt you can use, you'll often find shirts at a super cheap price in charity shops.
I had so much fun making this pillow cover. If you have any questions on how to make one for your self, leave a comment (as I know I don't always explain things thoroughly).
I may have mentioned a while ago that my little sister is growing unbelievably quickly, which means that she's growing out of most of her clothes. My sister absolutely loves her t-shirts and so didn't want to get rid, even if they where to small for her. So I had a brain storm and decided that they'd make brilliant scatter cushion cases.
I must admit that the cat one is my favourite. If you'd like to make one of these for your self then you might find this video quite useful.
I used the second method to make these pillows because I personally found that method to be a lot easier (I can also take them off to be washed, when ever I need to).
As you can tell from the photos, I used only the fabric from the t-shirt for the cat pillow but due to a lack of fabric, I had to use a contrasting fabric for the GAP pillow.
I used the sleeves of the shirt to make the bow, if you'd like me to give a run through of how I did this, let me know.
I found this to be a really quick and easy sewing project that instantly lightened up my room.
Recently my sister's been growing super fast! She's loving the fact that she's almost as tall as me but isn't loving the fact that she has to say goodbye to all her old t-shirts. My sister is known for her funky t-shirts, so when the chance came for me to make her beloved out grown t-shirts into something new, I leaped at it.
Although there are lots of ideas out there, I couldn't find something that would allow me to use the amazing prints on the fronts of the t-shirts to their full advantage. After a while I realised that I had to approach these t-shirts as just being fabric. "If I saw this fabric in a shop, what would I do with it?" Well that's quite simple. I'd make them into a pair of pyjama bottoms. You can see the outcome in the photo below.
See what I mean about funky tops! If you're interested in making your own, then keep reading.
You will need:
Two t-shirts
Sewing machine (or needle if you are hand sewing)
Thread
A pattern for a pair of shorts
Method:
It's simple really, lay the pattern piece onto the t-shirt and cut it out. This will make one front piece and one back piece. Makes sure that you place the bottom of the shorts pattern at the very bottom of your t-shirt, so that you can re-use the hem. This is what makes the project super quick.
Repeat the last step with the other t-shirt.
Then simply assemble the shorts as you would with any other trouser project. If you are unsure how to do this, then I have included a video for you below.
And that's all there is to it. I hope this has inspired you!
I made these a while ago (at the very beginning of summer) but just haven't got round to posting about it. On my travels I took these photos to show you what they look like.
I made the shorts from an old pair of jeans that I had worn in at the knee because I just couldn't bring myself to throw them away. I'm so glad I didn't throw them away, as they make great shorts.
You can find out how to make your own pair of shorts from old jeans here.
For hemming I chose to roll them over rather than under and just sewed them into place.
It was so easy and fast for shorts that just seem to last forever.
The best thing about these shorts is that they will last well into winter by just pairing them with leggings and boots.
So yesterday I was sorting through my sisters old clothes when I came across the first top I ever sewed. She's grown out of it now because it was a birthday present from 3 or 4 years back now but it hit me how much my sewing has changed. For example I now know not to use a straight stitch on stretchy fabric and also to match the thread colour with the material you are sewing.
Have you ever looked back and realised how far you've come or are you realising how much you're sewing is improving each day?
I'm the kind of person who wears jeans to death! I wear them every day, so it was hardly suprising when my favourate jeans got a massive whole in the knee. I was still abit annoyed because I loved them.
But yesterday I had a great idea; why not make them into shorts? So I cut of half the legs (just above the whole) and hemmed them, to create amazing shorts, which I know I'll wear to death this summer.
I'm really pleased with how they turned out. All together it took me about 30 minutes, mainly because I was trying really hard to make both legs exactly the same length. I used the same thread that I used for my denim skirt and had the hem line at about 1cm.
What's great, is that they're ready just in time for spring and summer.
Charity shops are a great place to find cheap well made clothes if you don't mind wearing something someone else had. The only down side is that you may not get the piece of clothing you like in your size. But if your willing to spend a few minutes sewing, the results are rewarding.
I found this really nice top in my local charity shop only it was a size 20 (and I'm a size 8) but when I looked at the way the top was sewn together in the first place I saw that it had fairly simple lines. So half an hour later it became this
The best part is that it's totaly unique and totally me.